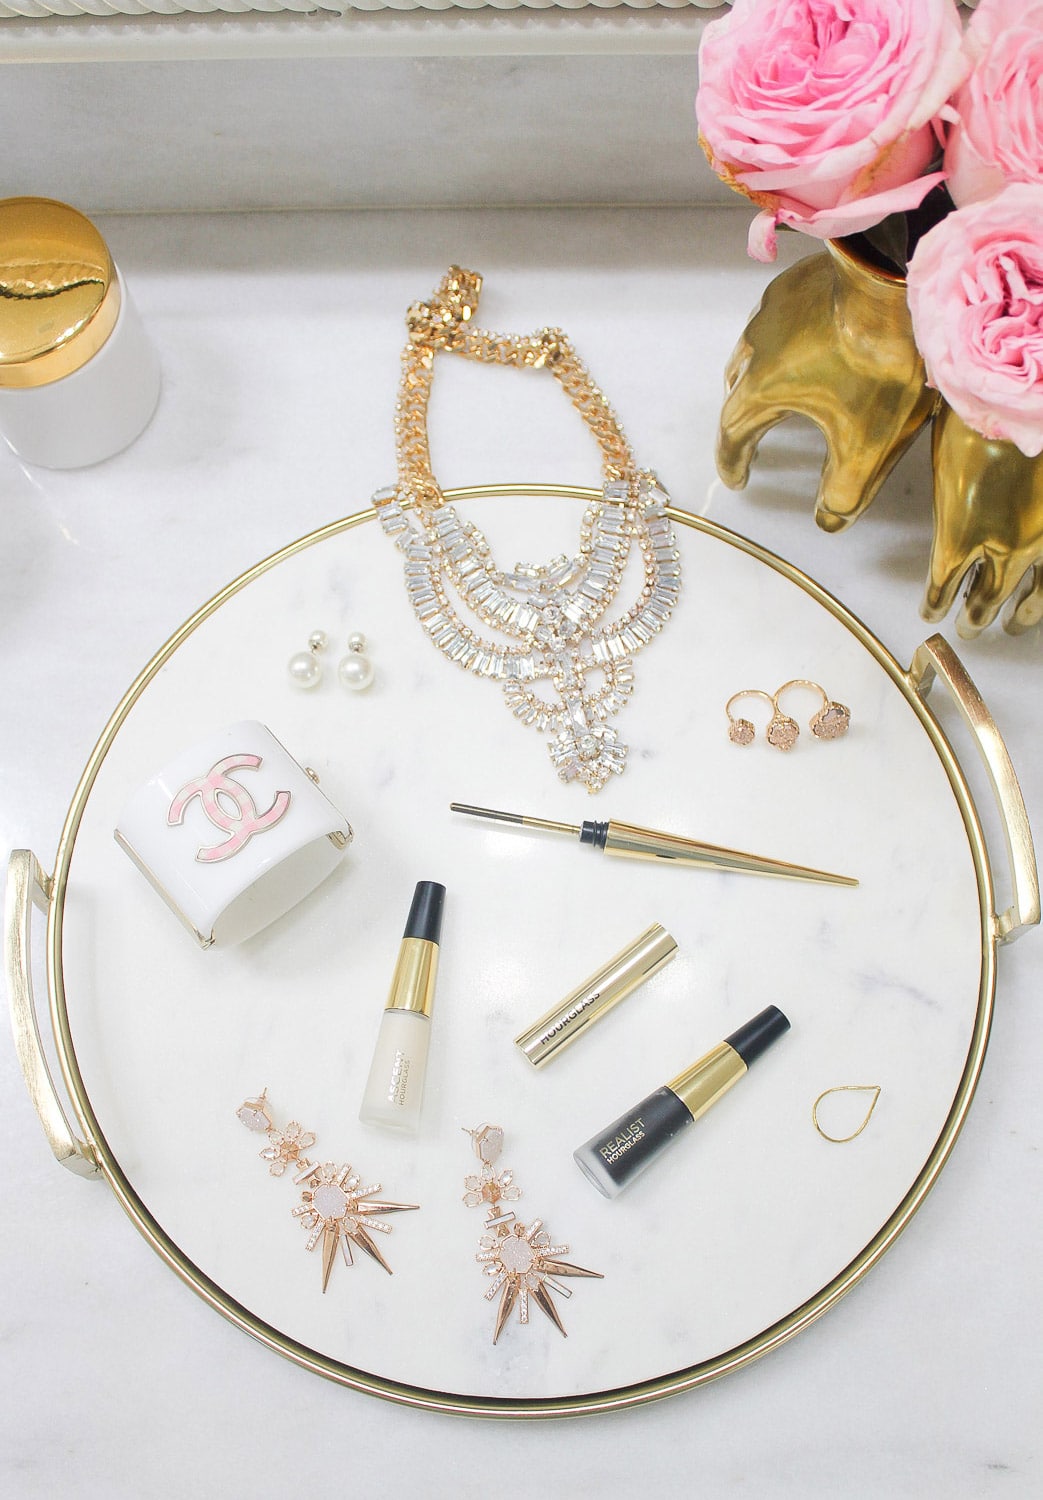
Okay, so I actually spent $150 on the Hourglass lash curator tool and mascara/primer combo. I know. You’re thinking WTH Sam?! Are you nuts?!!!
Well, I am nuts… about lashes! I am OBSESSED with lashes. It all stems from a comment a boy made to me in elementary school. We were talking about lashes (random), and he said, “Oh, I didn’t even know you had any!” SCARRED FOR LIFE!!! Anyhow, I tried lash extensions. I LOVED them, but it’s too hard for me to keep them up with the littles right now.
I AM using Neulash (got the double pack at the #NSale) and it REALLY WORKS! However, I’m always on the hunt for things to make my lashes look amazing and LOVE new beauty technology. (Remember these AMAZING Artis brushes – I still use them!) Then this emails shows up from Barneys about a game-changing mascara. I’m all ears and lashes! ;)
I decided to splurge around my fortieth birthday and wanted to try it for at least 2 weeks before doing a review. Of course, there aren’t many reviews. I mean who is crazy enough to spend that much on a lash tool besides me?!! Hopefully, this helps anyone who is curious about it!
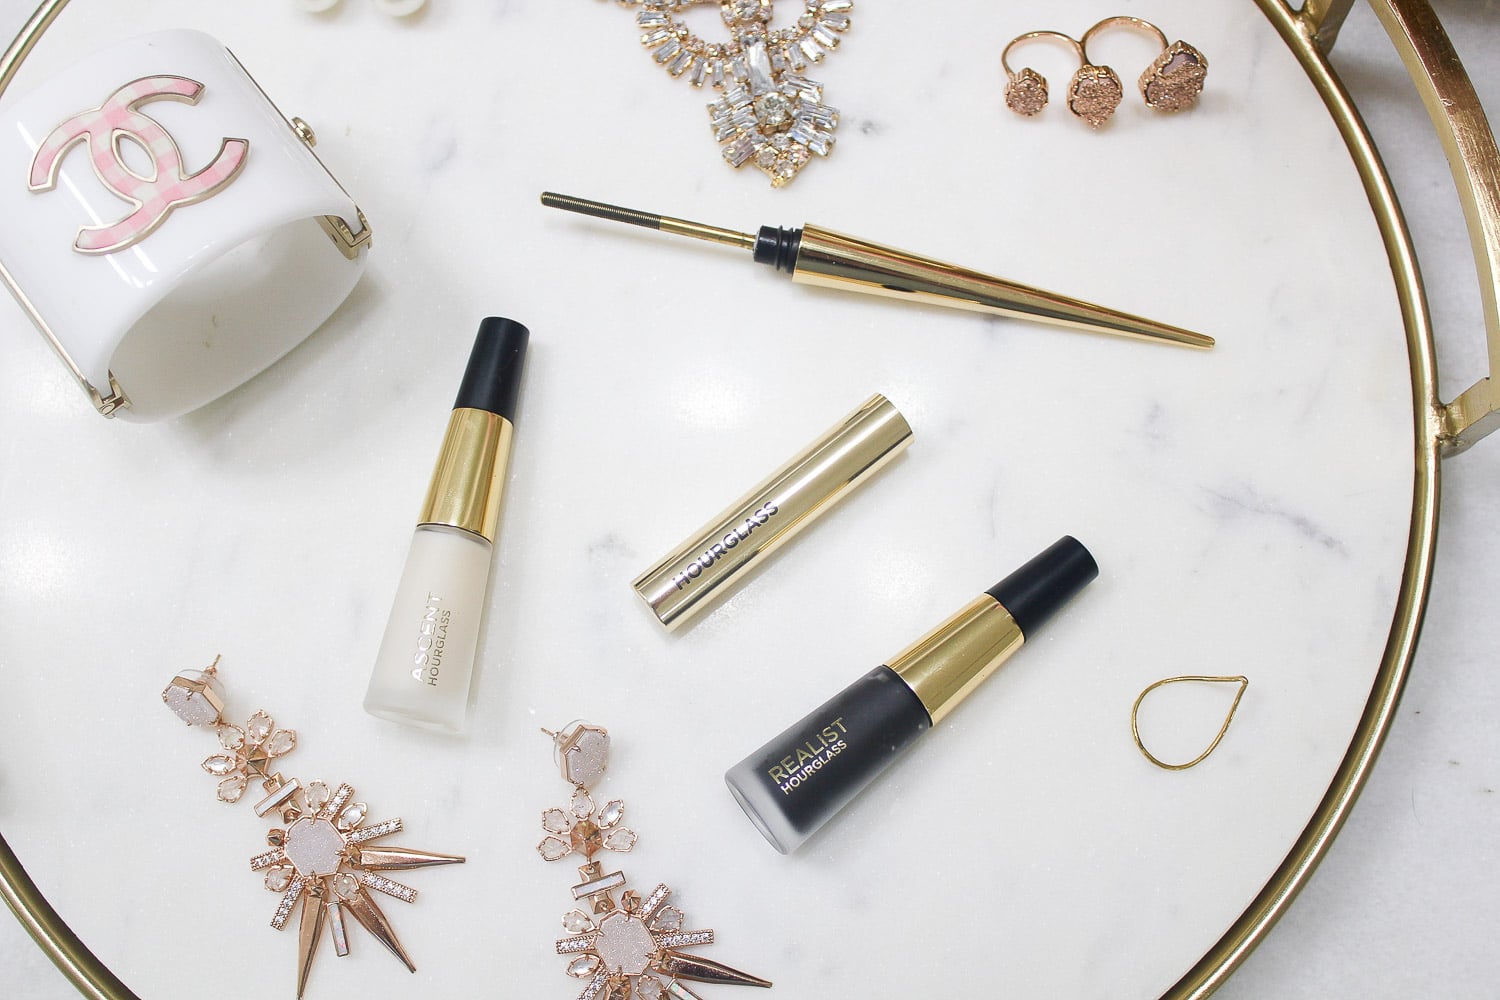
WHAT YOU GET //
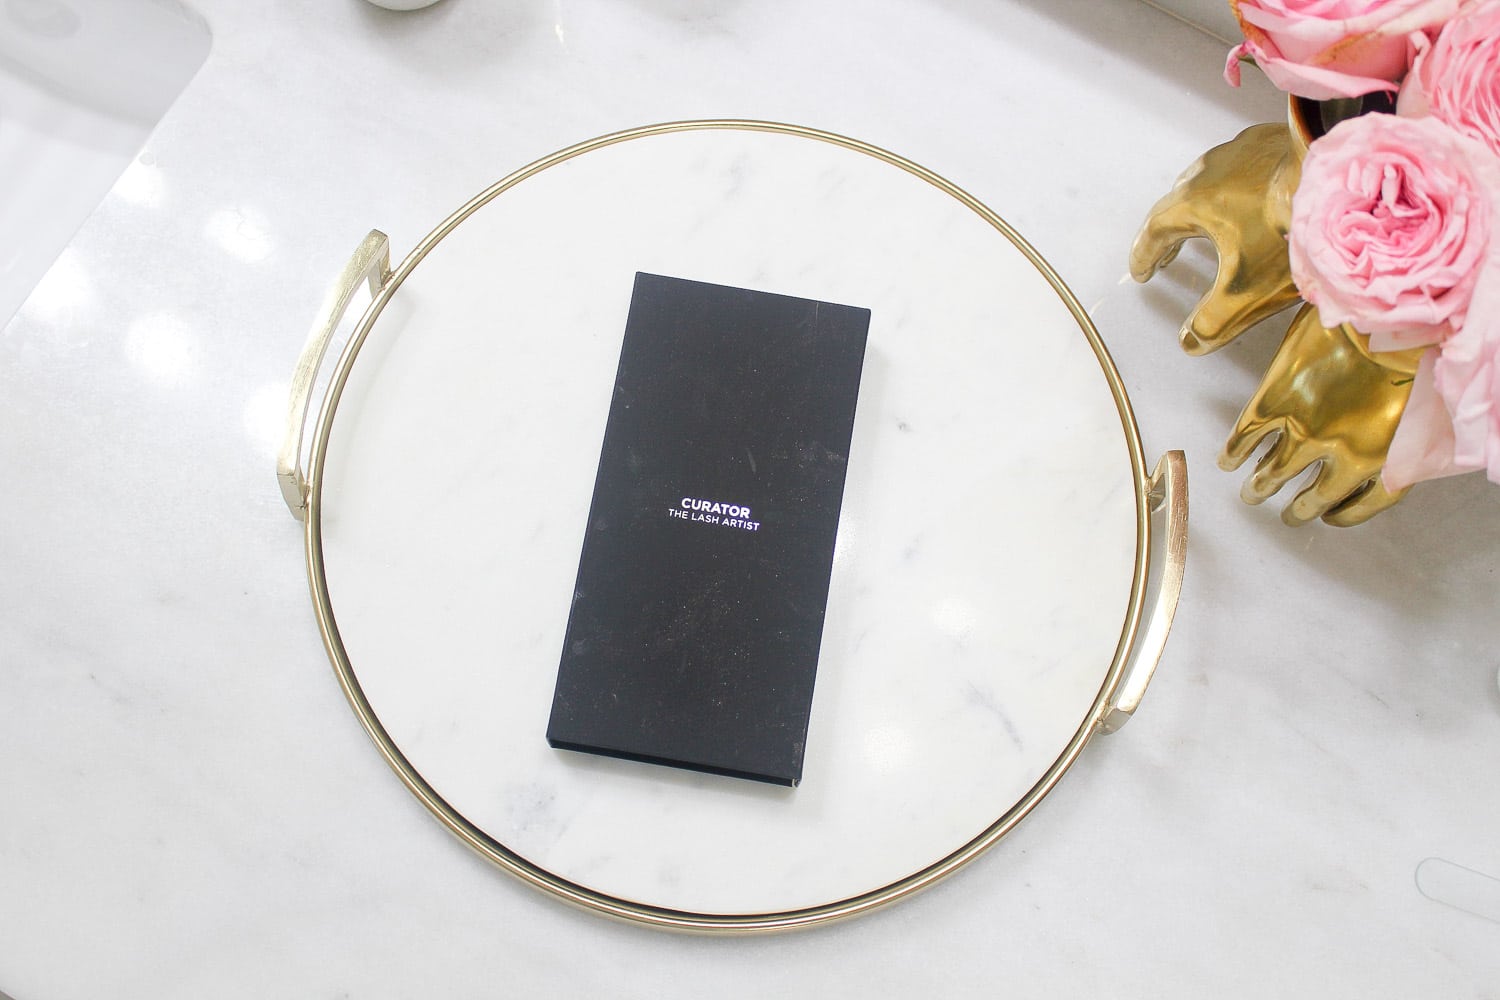
You can purchase each item separately – lash curator tool for $78, lash primer (Ascent) for $36, and the mascara (Realist) for $36. Or you can purchase the boxed set which is $150. There isn’t a discount for purchasing the set, but it comes in that gorgeous box (as seen above).
WHAT IT CLAIMS //
What makes the Hourglass Lash Curator so revolutionary is the stainless-steel threaded tip. It is a bristle and brush free tool, and the end basically looks like a skinny screw. The gold tip is double cut at a 40-degree angle to enable a uniform amount of primer or mascara to deposit. It allows for 360-degree application since you can use it on the smallest lashes on the inside and outside corners. The founder, Carisa Janes, developed this so that you can also tight-line your mascara making it look fuller.
HOW TO APPLY //
Dip the lash instrument into the primer. I usually act like I’m screwing it on and then reverse the wand a couple of times to ensure it’s coated. I call it the “Screw on, Screw off” method. Remember Karate Kid?! Then, apply starting at the base of lashes and moving to the tip using a horizontal zig-zag motion.
I usually do two coats of primer to add thickness and it really holds the curl (if you look at the profile view versus my usual Chanel Inimitable Waterproof mascara). I used the little blob on the end to coat my lower lashes while the tool is verticle and sweep it across back and forth (like a regular macara wand). Lastly, use the lash curator tool vertically to separate the lashes. (The instructions mention that with the mascara application but the primer will be dried and it’s harder to separate.)
BTW, the PRIMER is extended wear meaning you must use a waterproof eye makeup remover. (I use Tata Harper Nourishing Oil Cleanser – more on my face stuff in another post soon!) If you don’t have waterproof eye makeup remover, you can use coconut oil as an alternative!
Again, dip the lash instrument into the mascara using the “screw on, screw off” method I mentioned above. Apply mascara to the lashes in the same manner (from base to tip, horizontal zig zag motions).
To tight line, hold the lash instrument horizontally along the base of the upper lashes. (This can be a little tricky and messy until you get the hang of it!)
HOW TO CLEAN //
It states to periodically clean with a soft cloth. However, I rinse it after using the primer. Then, I wash it with soap and water after mascara use. You definitely need a soft cloth/wash cloth as tissue with leave fibers because of the grooves. I recommend using a dark washcloth because the mascara stains my white ones!
You can store it dried either in its own container or the mascara or primer. I usually wash it, dry it, and then place it in the original container.
MY THOUGHTS //
So, what happened?! I DO love it! It definitely takes more time to apply and isn’t very fast (which is what I am always looking for lately with less time because of the littles). However, I can finish a full face of makeup in 15-20 minutes if I’m taking my time. When I literally only have 5 minutes, then I reach for my trusty Chanel Inimitable Waterproof mascara. Although I’ve gotten quicker with practice and will be able to use it even when I’m in a hurry.
PROS //
Because of the lash curator tool, it lengthens like nobody’s business. I feel like this is the longest my lashes have ever looked without extensions or falsies. The mascara is a very deep black leading to a dramatic lash look.
When compared to Chanel Inimitable Waterproof mascara, I was AMAZED at the Hourglass Realist mascara. I use RMS uncover, a coconut oil based concealer. You can see that the Chanel mascara smudged after a couple of hours and the Hourglass mascara didn’t budge. (See above pictures.) Also, the Chanel mascara didn’t hold the curl as well. It doesn’t way my lashes down like non-waterproof mascaras but it’s straightened. The Hourglass mascara kept the curl!
CONS //
The obvious big one is cost! It is definitely an investment, but I am hooked on this tool. Maybe it’s a placebo effect, but I feel like my lashes look really defined. The tool can only be used with the specific Hourglass mascara so you are on the hook for the mascara too.
Even with two coats of primer, it doesn’t create as much volume or fullness as other volumizing mascaras that I’ve used. That being said, the length and separation it creates almost makes up for the lack of volume.
WOULD I PURCHASE THIS AGAIN? Yes, I’ve already invested in the lash curator tool and I will continue to purchase the primer and mascara. Based on the amount that is deposited into the tool, it should last at least 3-6 months which is mascara’s expiration date anyways. I will update this post when it’s out so we know how long it does last with regular use.
Have you heard of this brand or lash tool? What are your thoughts? Do you think that I’m crazy?!
SHOP THE LASH TOOL & POST
SHOP THE FLATLAY


