

Ask my friends. I LOVE projects. I am the best at coming up with a DIY project and getting the materials… That’s where it stops. I’m not the best at executing projects. This is one that I actually finished so I wanted to share it with you!

I found this framed painting at the resale shop for $35. I really loved the frame, but the painting didn’t really go with my decor. I decided this would be the frame for my inspirational chalkboard. {Don’t worry, the painting went to a good home and I don’t mean the trash bin!}

Items Needed:
- Frame (Anything with carved details would be good.)
- Spray Paint (I chose white.)
- Plywood (The helpful people at the hardware store cut it to my specific dimensions.)
- Chalkboard Paint
- Paint Primer (I was lazy and didn’t use it.)
- Nylon Turn Buttons (or frame clips)
- Wood Screws (I used size 6 x 5/8 to fit into the turn buttons.)
- Screwdriver
How To:
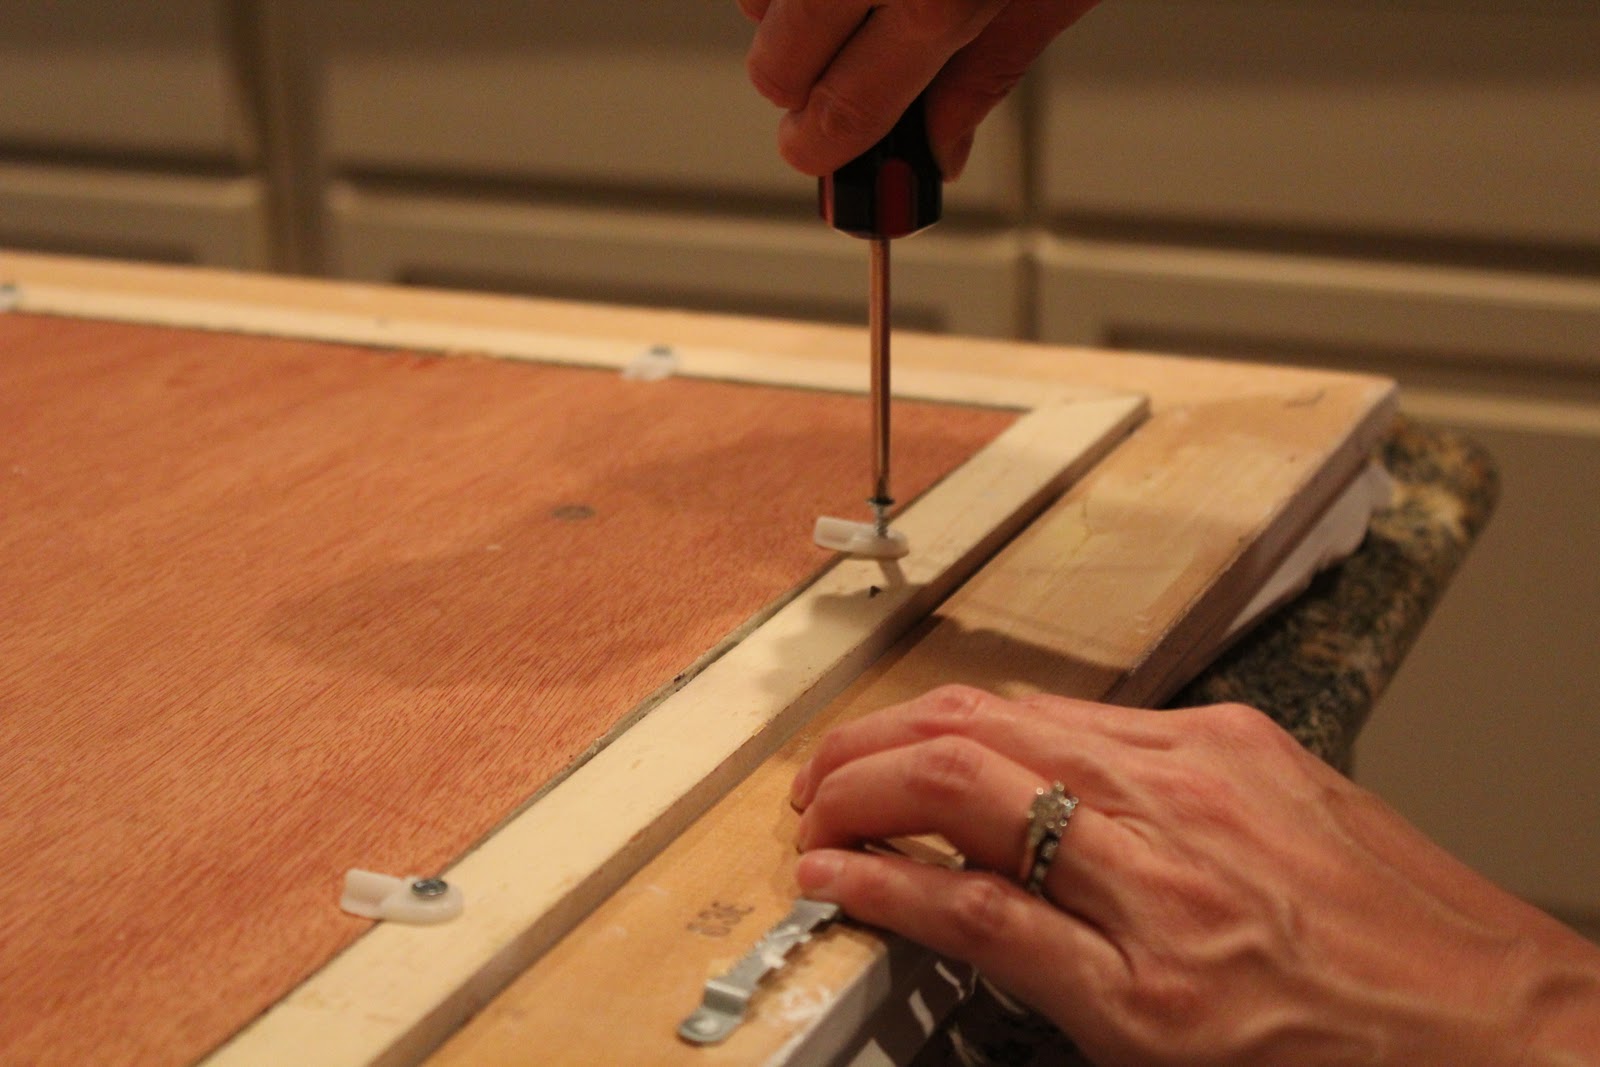
Spray paint the frame – I did two coats. Paint the plywood with the chalkboard paint – again, two coats of paint. {This is where the primer would have come in handy. My chalkboard paint went onto the plywood very streaky and isn’t smooth.} I let both dry for 2 days, but I’m sure one day could have been adequate. Place the chalkboard into the frame. Screw the turn buttons onto the back of the frame to secure the new chalkboard (as shown below).
Spray paint the frame – I did two coats. Paint the plywood with the chalkboard paint – again, two coats of paint. {This is where the primer would have come in handy. My chalkboard paint went onto the plywood very streaky and isn’t smooth.} I let both dry for 2 days, but I’m sure one day could have been adequate. Place the chalkboard into the frame. Screw the turn buttons onto the back of the frame to secure the new chalkboard (as shown below).
Voila!! You’re done! And now you have a beautifully framed chalkboard to write inspirational messages on everyday. This chalkboard is on the wall outside of our bedroom door so it’s the first thing we see on the way out!
{For a smaller version, my friend suggested using a pretty desktop picture frame. You can paint the glass with chalkboard paint. It’s much simpler, and then you can have an inspiration chalkboard at work!}
Are you a DIY person? {Do you actually finish your DIY projects, unlike me?}